

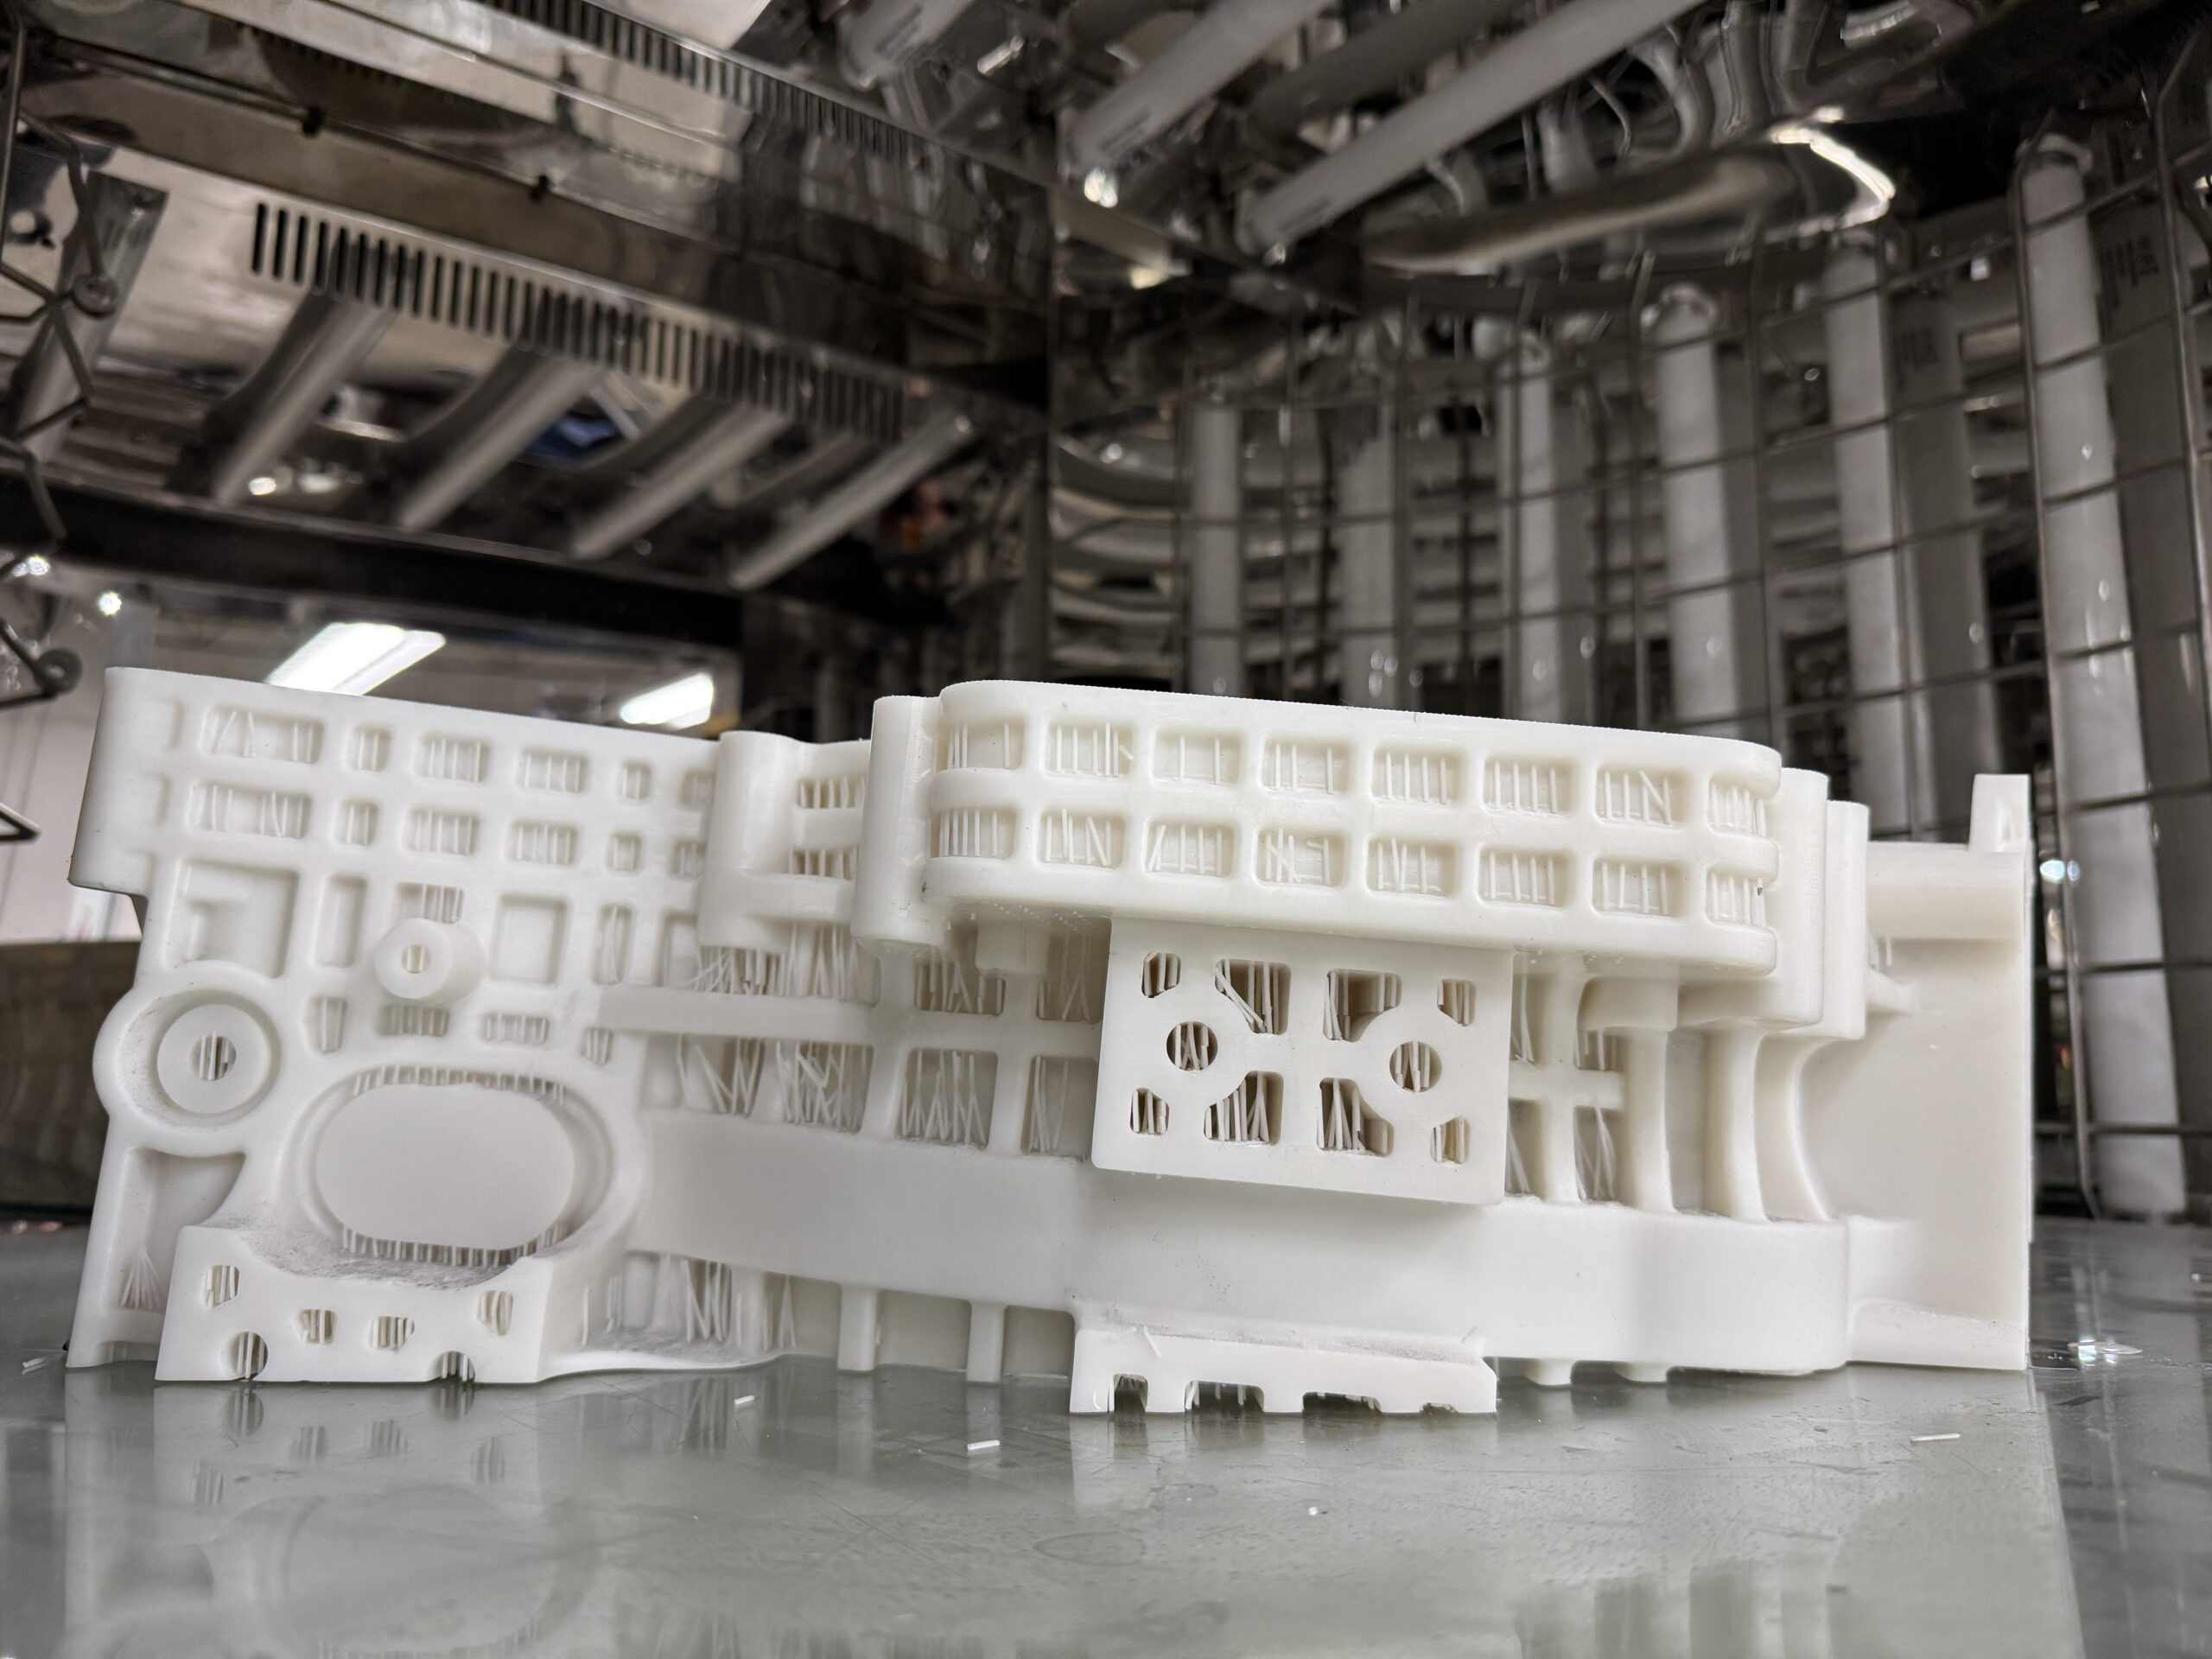
When you scale up additive manufacturing, post-processing stops being a simple step and turns into a critical engineering challenge. Large resin parts soak up a lot of energy during polymerization, and managing that energy makes the difference between a pristine component and a warped disaster. At Techcom Inc, we see teams struggle with this phase constantly because standard desktop workflows simply do not apply to industrial footprints.
Thermal Stress and Polymer Chains
Polymerization is an exothermic reaction. When you cure massive volumes of resin, heat builds up rapidly in the core of the part while the surface cools faster in the ambient air. This temperature gradient creates internal stresses that pull the geometry out of tolerance. If you blast a massive print with high-intensity UV light right out of the vat, the outer layers lock up before the inner polymer chains fully cross-link. That trapped energy leads to cracking down the road.
Balancing UV Intensity and Heat
Controlling the cure means controlling the thermal profile. Industrial resin 3D printing post-curing requires a gradual ramp-up of both light wavelength consistency and ambient chamber temperature. By keeping the thermal delta between the core and the surface as narrow as possible, you allow the polymer network to relax as it solidifies. The result is a dimensionally stable, fully densified component ready for heavy-duty service.
How do I prevent warping during large scale 3D print curing?
Preventing warp requires managing the thermal gradient between the outside and the inside of your part by using a staged heating cycle before applying peak UV intensity.
Why does resin shrink during the 3D printing curing process for large objects?
Resin shrinks because individual monomer molecules pull closer together as they form tight polymer chains during cross-linking, which reduces the overall volume of the material.
How can I eliminate the sticky surface layer on large resin prints?
You can eliminate tackiness by ensuring your wash cycle is thorough and your final UV cure happens in an inert nitrogen environment or under water to block oxygen inhibition.
Step-by-Step Large-Format 3D Printing Post-Curing Workflow
- Initial Surface Wash: Remove unreacted surface monomer using the appropriate solvent bath to prevent sticky residues from interfering with the final light penetration.
- Controlled Flash-Off: Allow the cleaned part to dry completely in a ventilated area so residual solvents do not get trapped and plasticize the outer skin during heating.
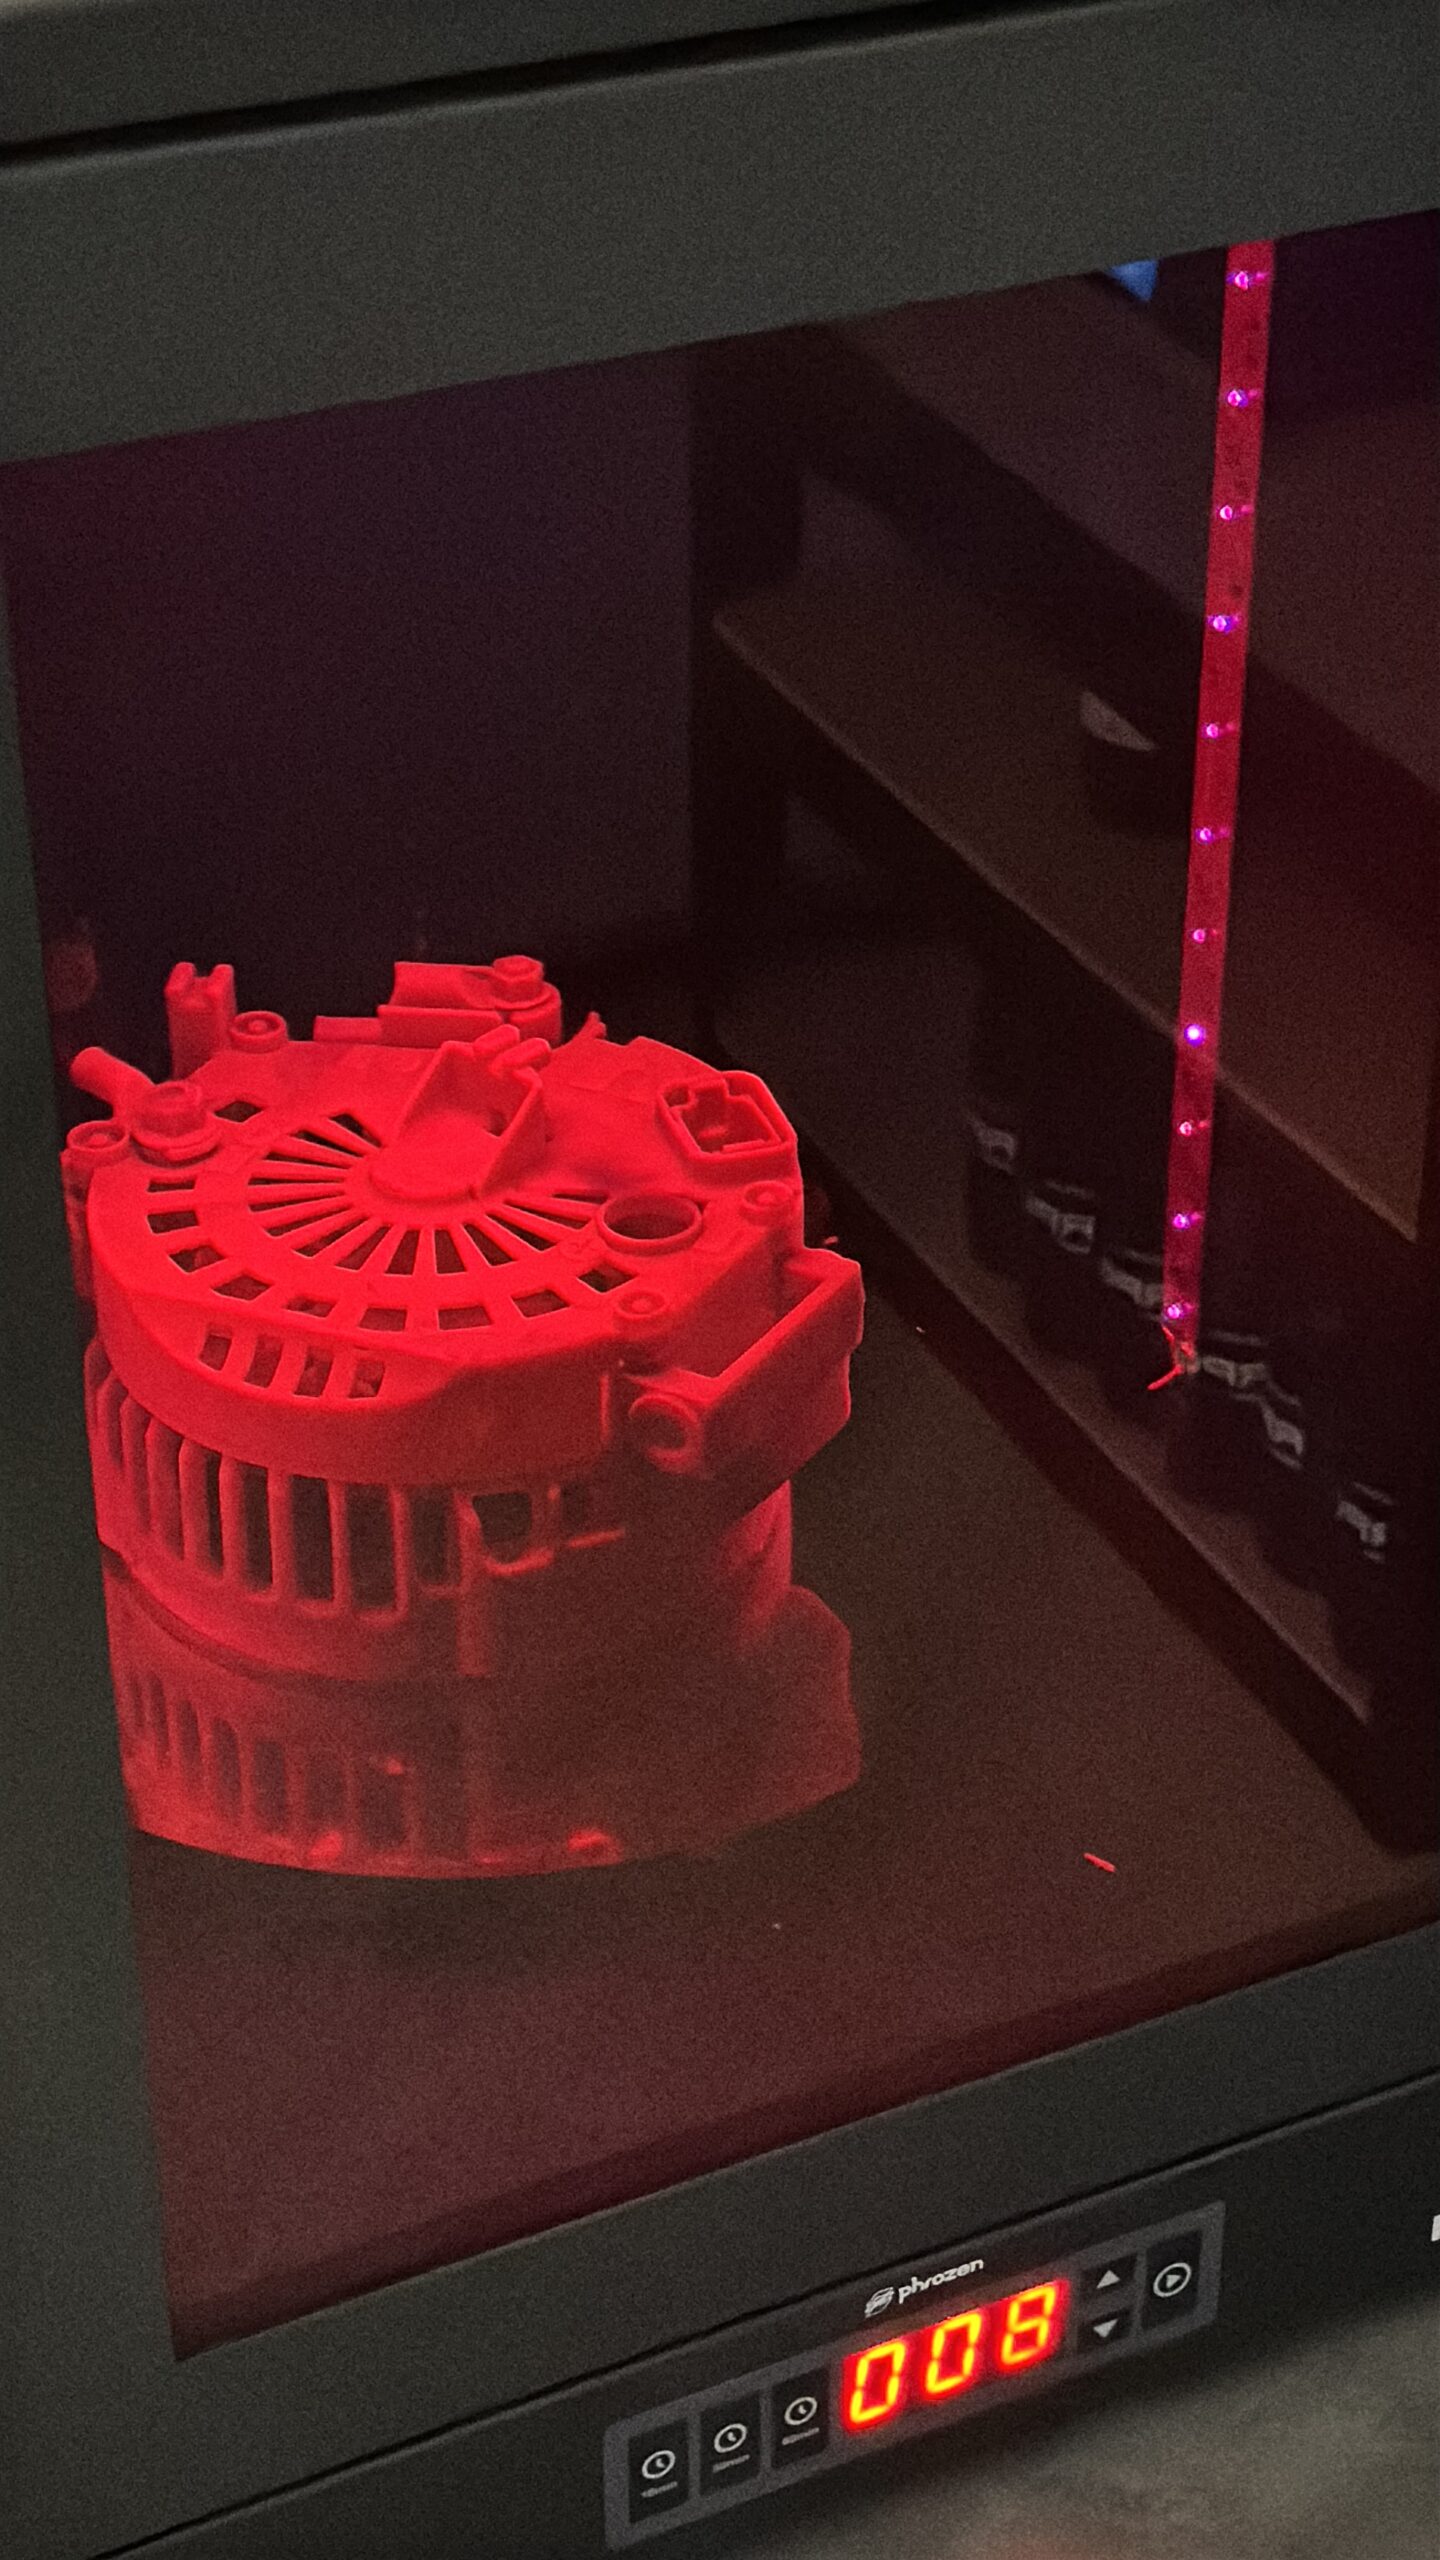
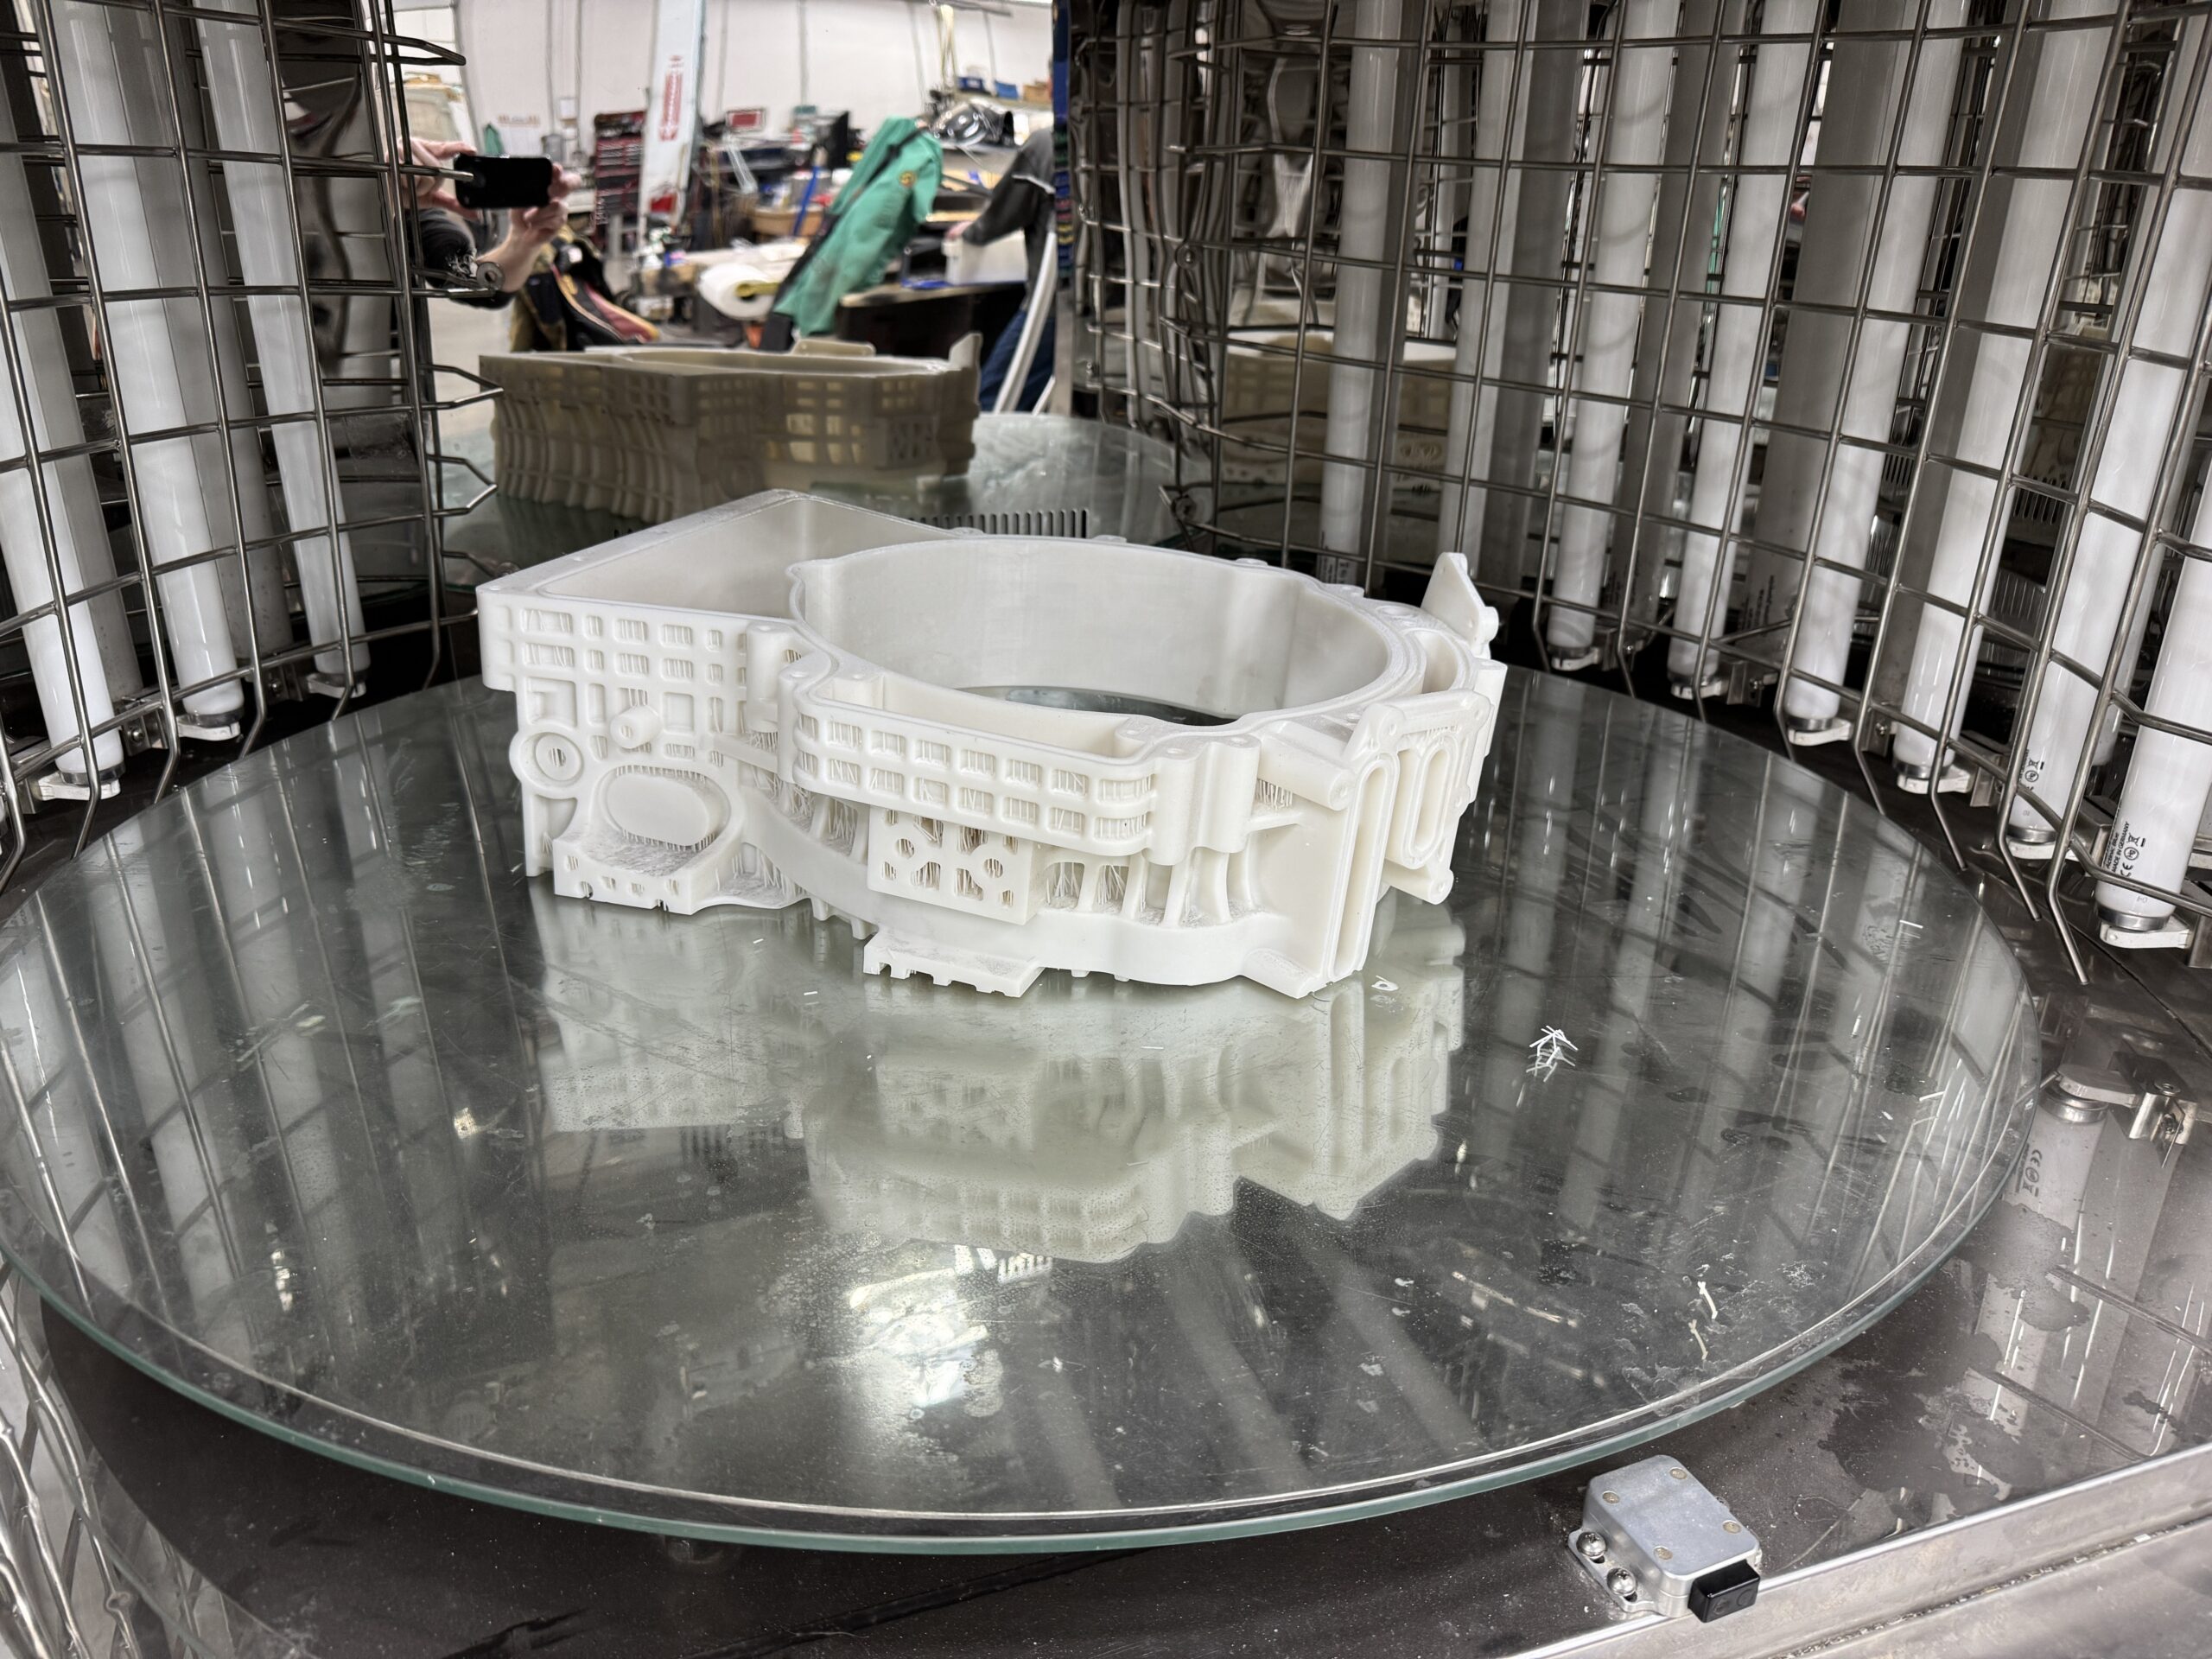
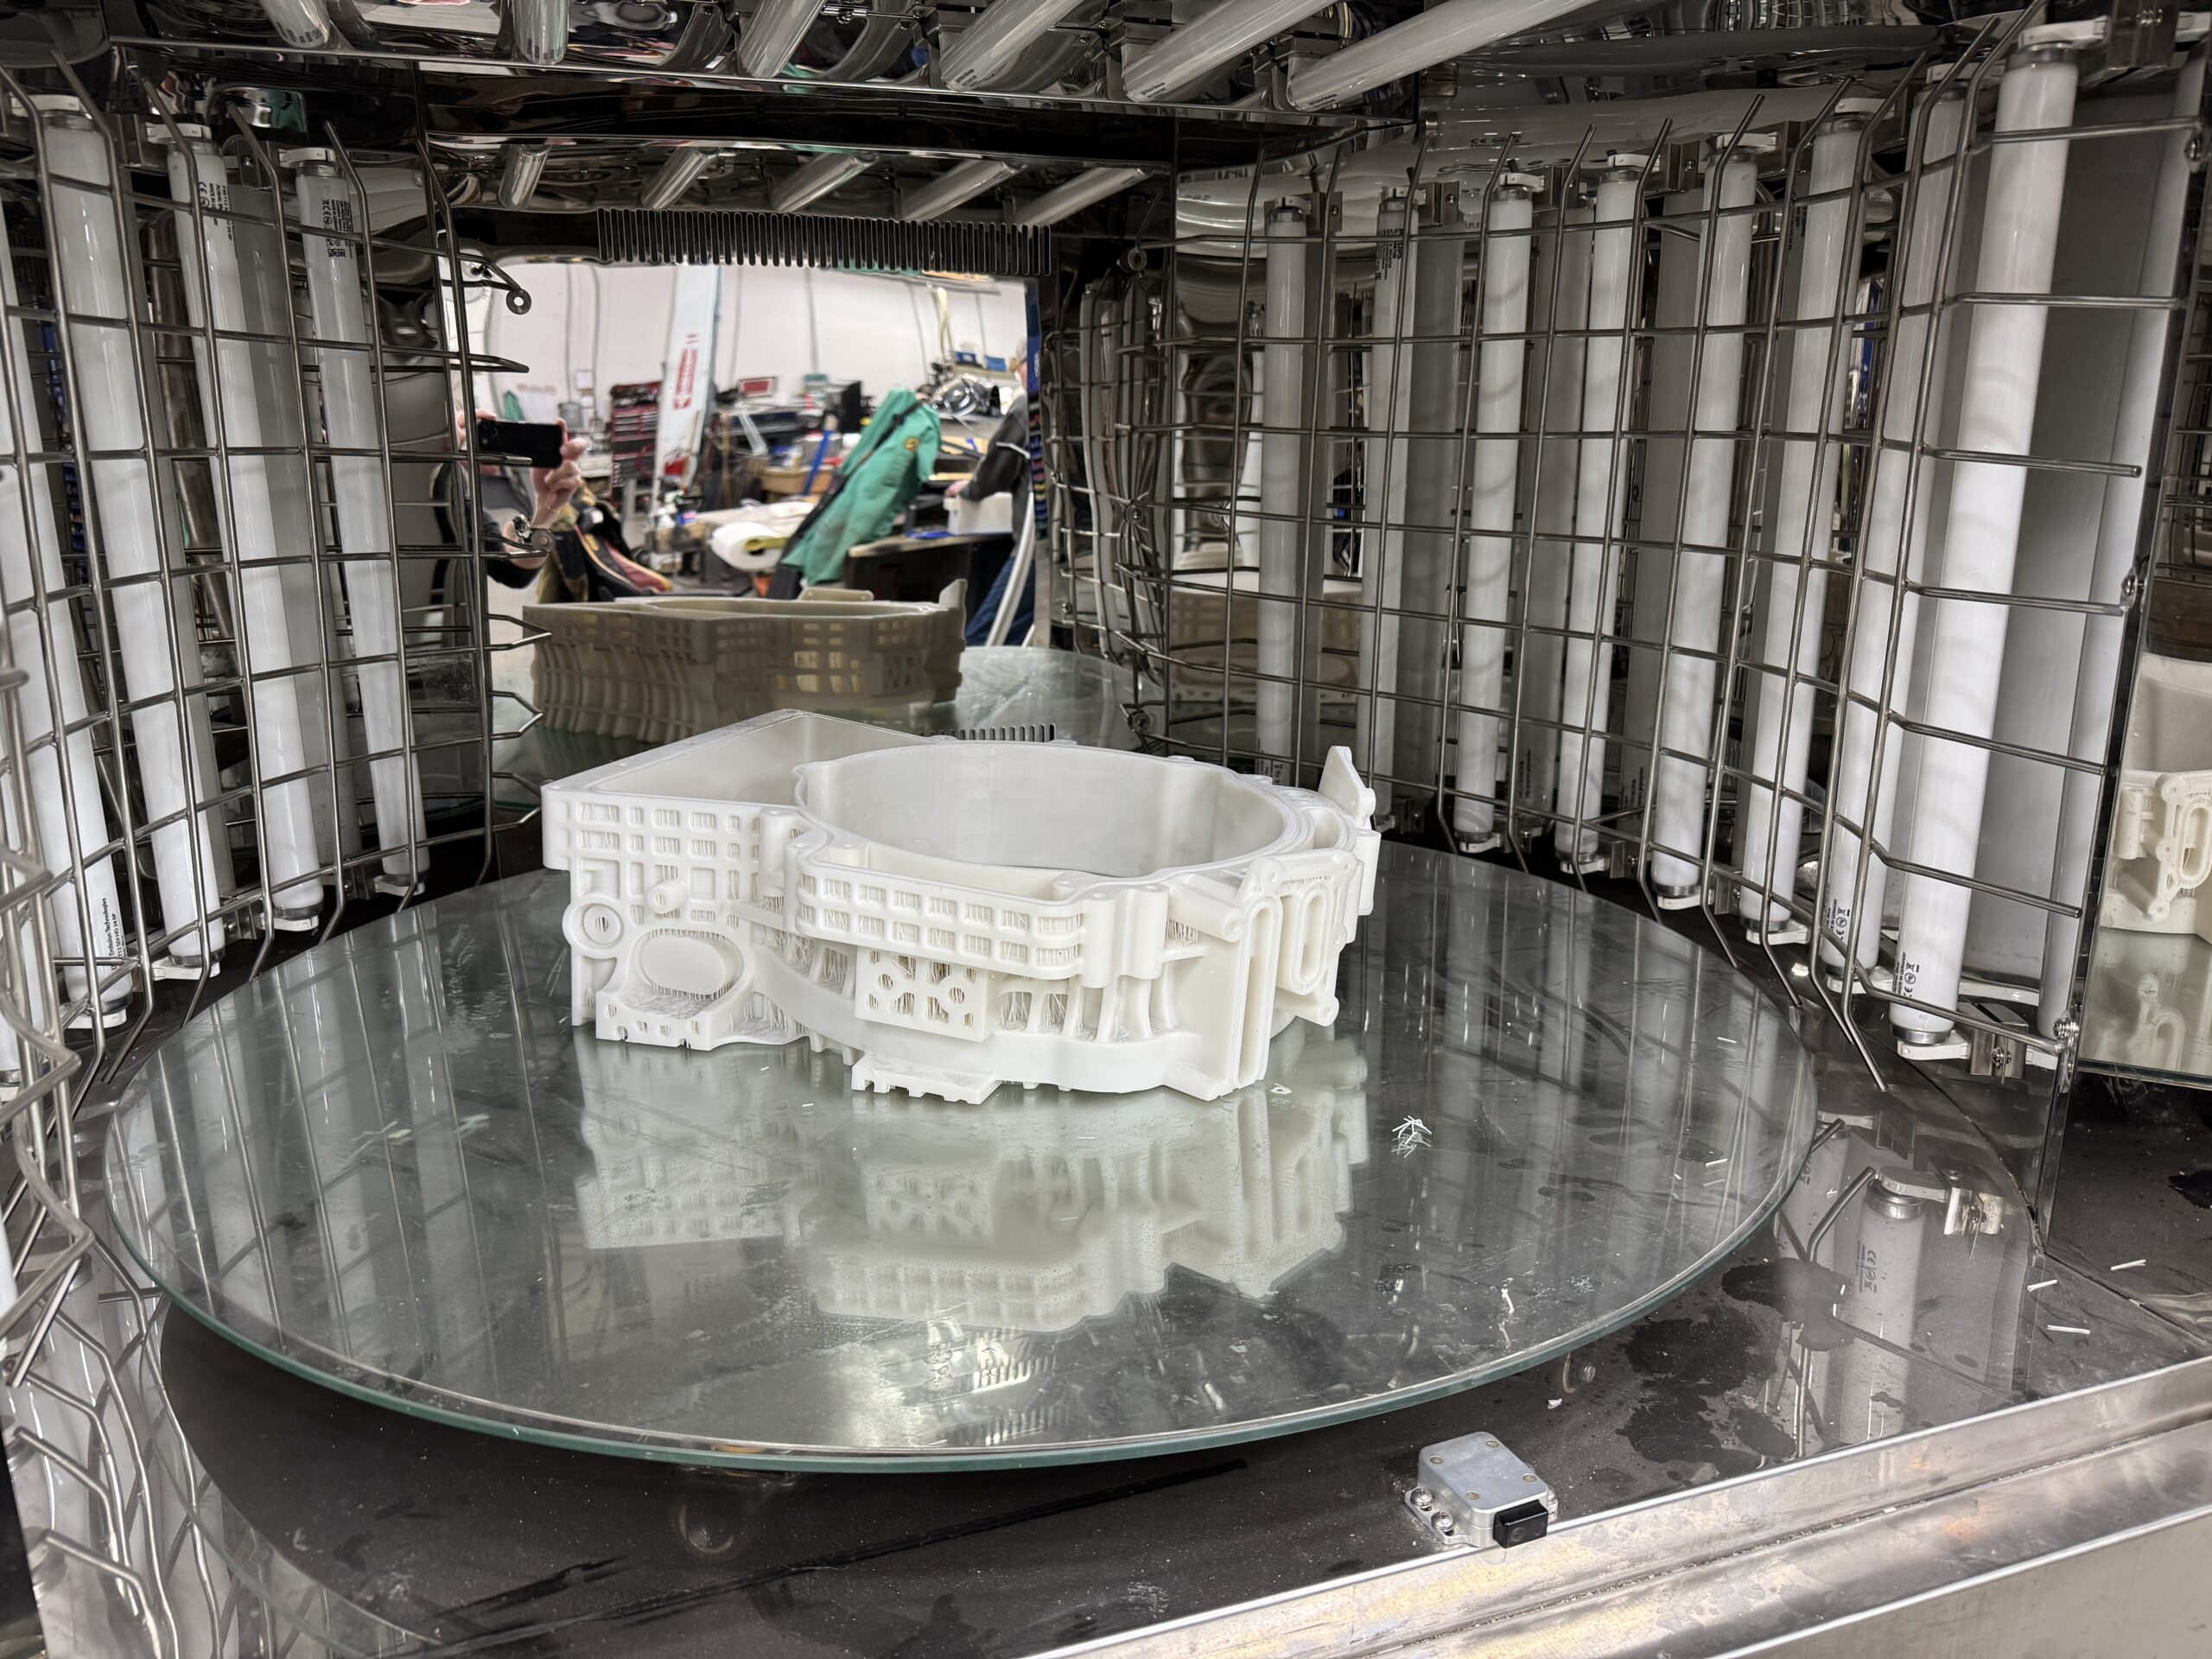
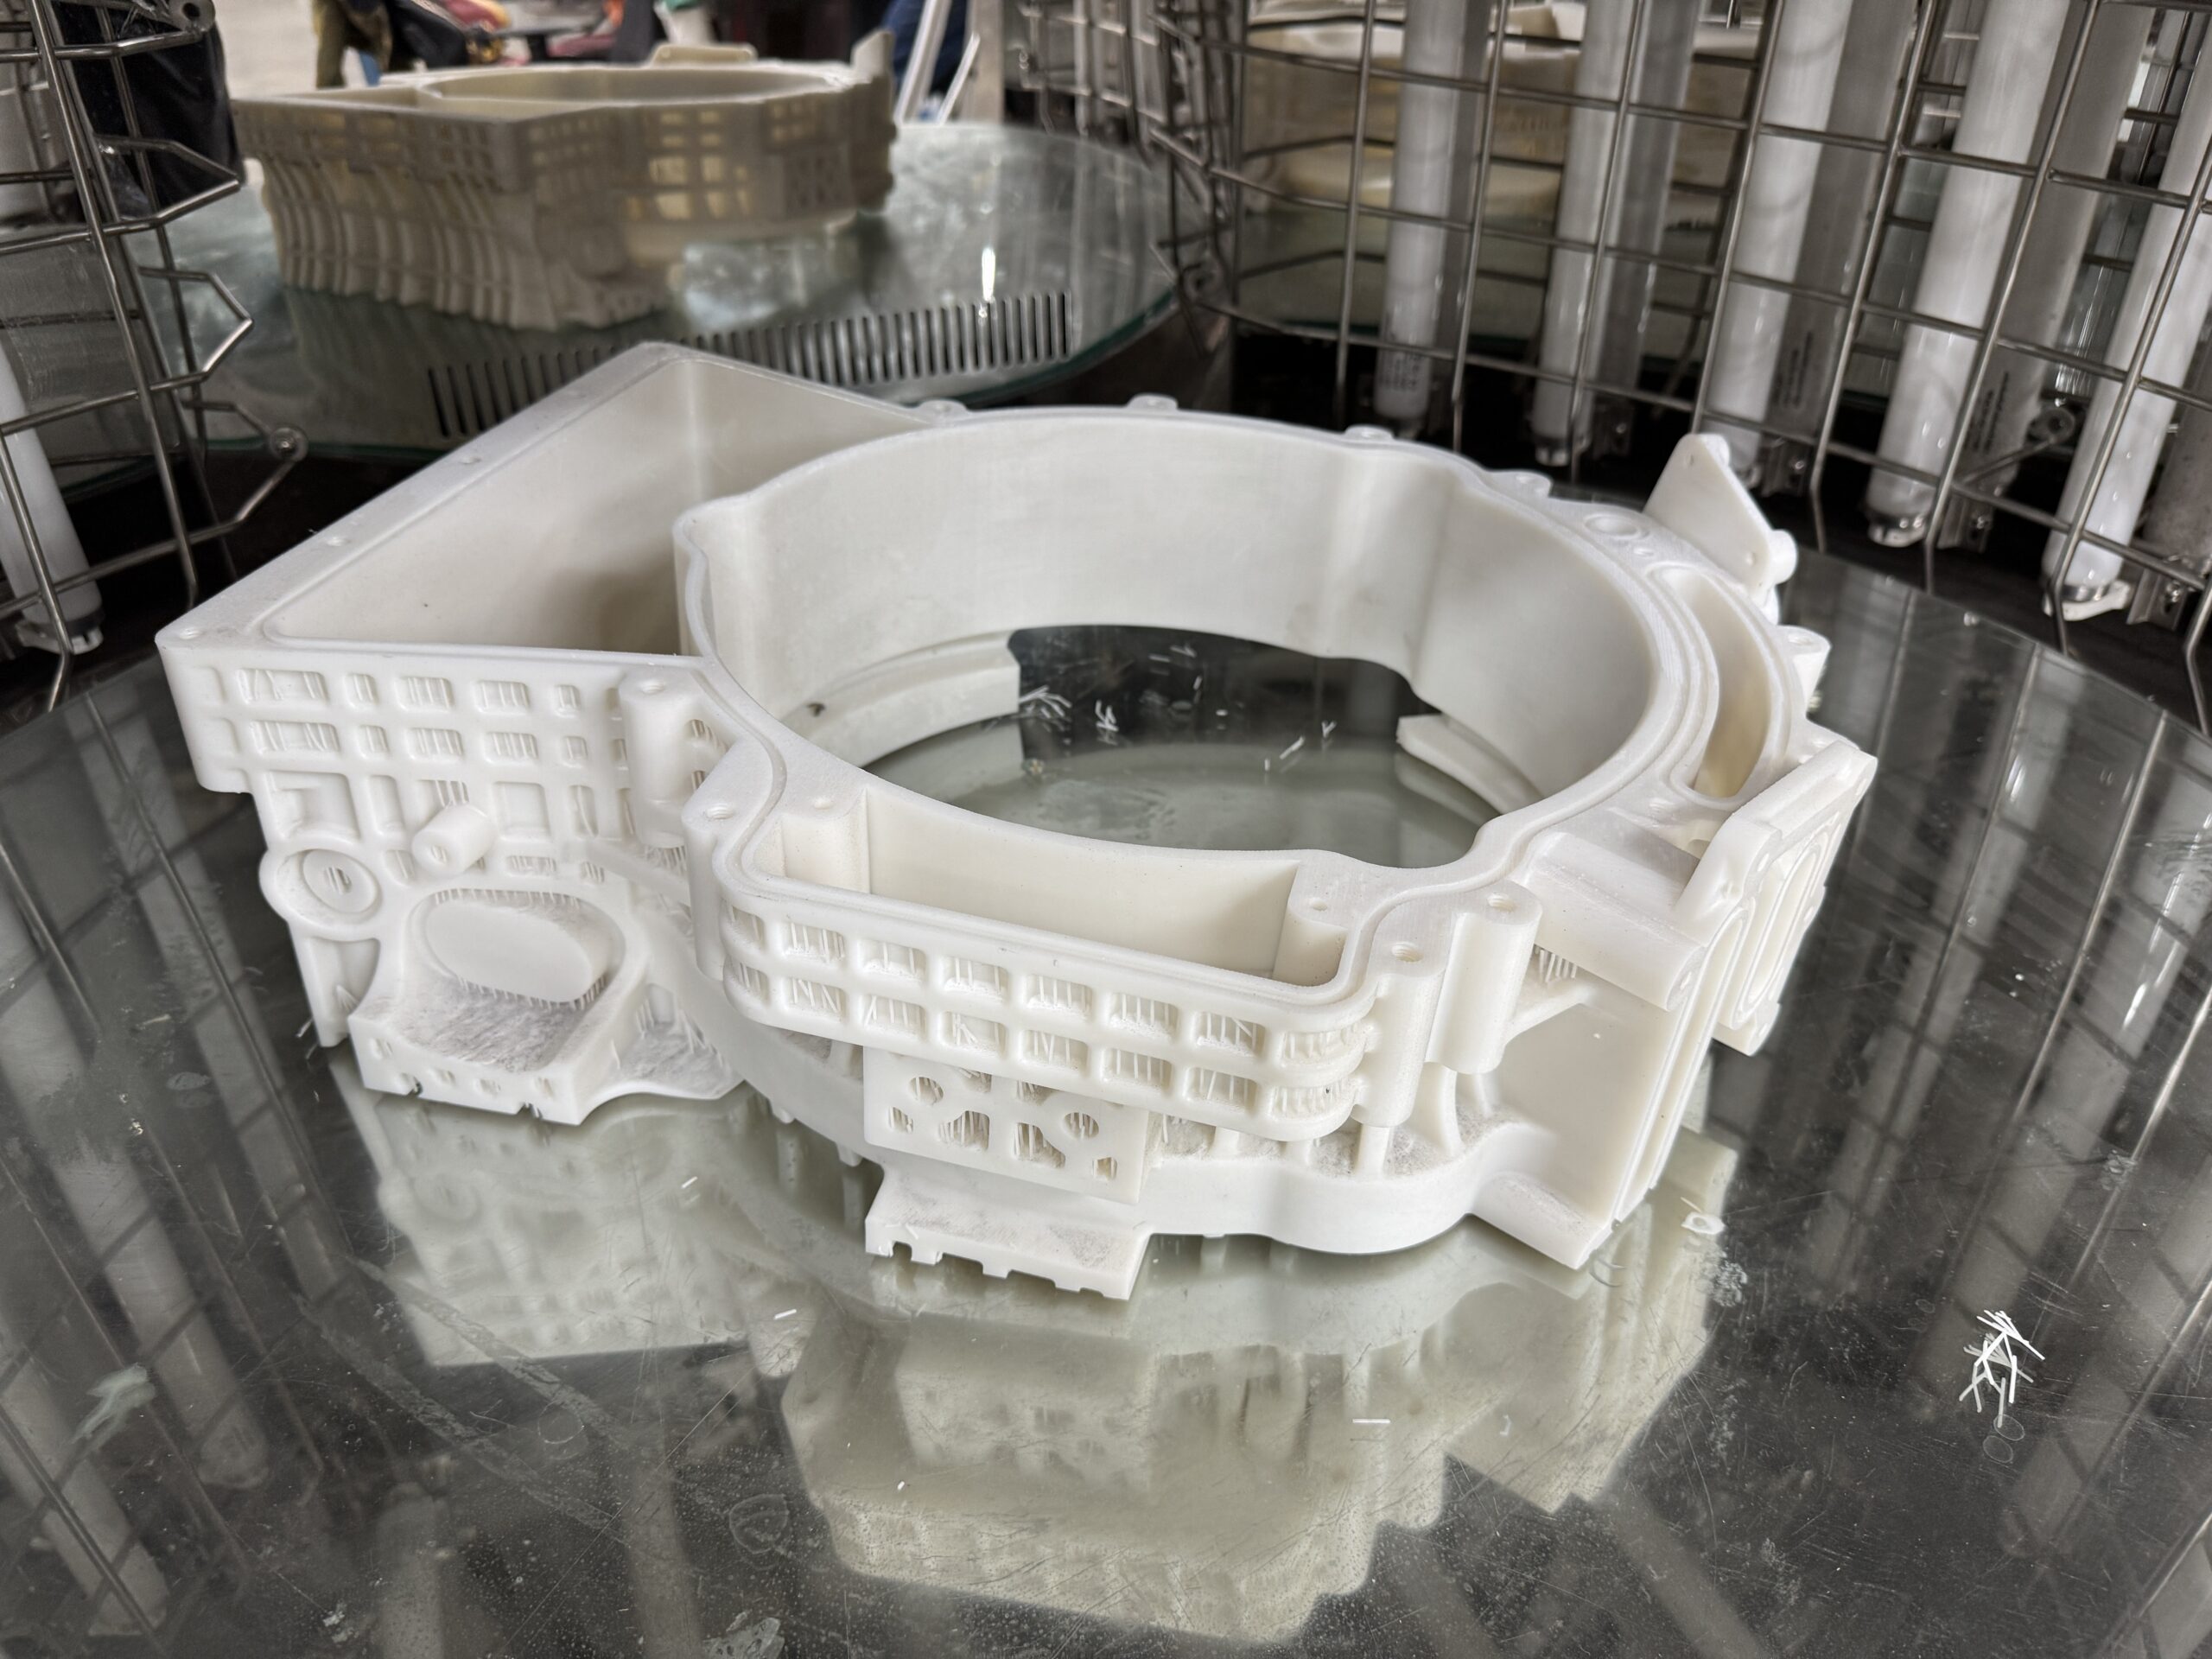
- Pre-Heating Phase: Place the component inside a specialized post-curing equipment for large objects to bring the internal core temperature up to the resin manufacturer’s specified glass transition zone.
- Staged UV Exposure: Begin with low-intensity UV curing for complex 3D prints, slowly increasing photon density over several hours to ensure uniform cross-linking without thermal shock.
- Gradual Cool-Down: Power down the light source and let the chamber return to room temperature slowly to lock in dimensional accuracy before final handling.
Mastering industrial post-processing requires strict attention to thermal management, precise light exposure schedules, and proper workflow steps. Techcom Inc helps engineering teams optimize their production lines to deliver accurate, high-strength parts every single time.
Keep Reading
Related stories.
 3D Printing
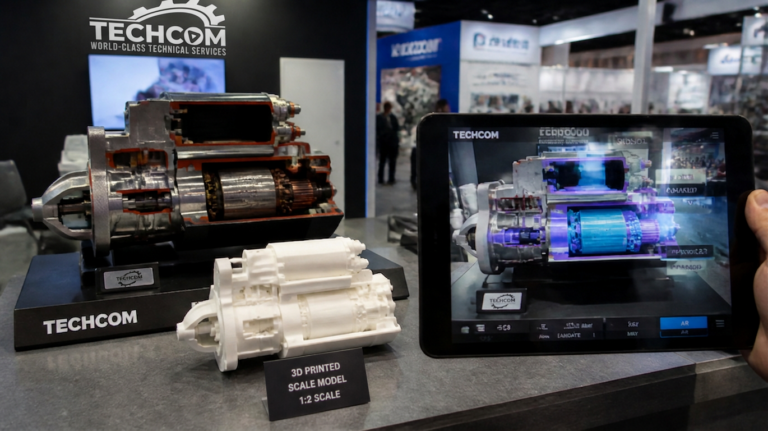
Cutaway, 3D Print, or AR: Which Trade Show Display Is Right?
Cutaway vs. 3D-Printed Model vs. AR: Which Display Is Right for Your Show? The short answer: a physical cutaway stops traffic and…
Read more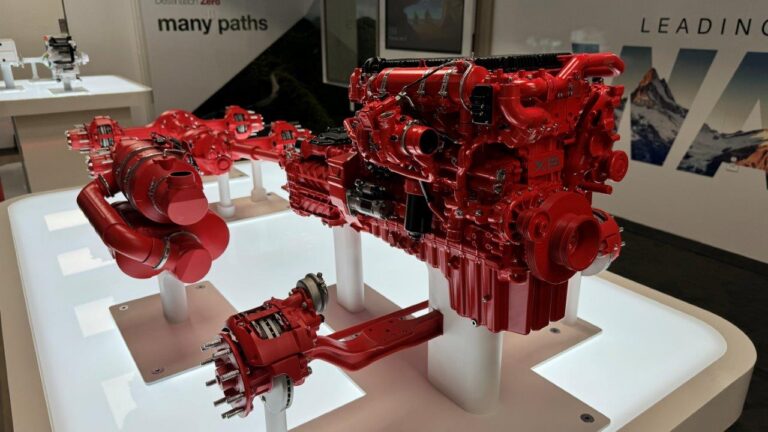 3D Printing
3D Printing Trade Show Presentations
Closing Deals with Tangible Hardware Most trade show floors are a sea of flat screens and generic banners. When you hand a…
Read more 3D Printing
Cummins 3-D Printed Generator
Engineering the Future of Power Generation At Techcom Inc, we recently teamed up to bring a complex engineering vision to life through…
Read more